Installing the Data Analysis ToolPak in Excel
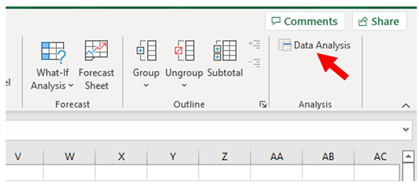
Open an Excel spreadsheet and check for Data Analysis in the ribbon as shown in Figure 1.
If you cannot see Data Analysis in the ribbon, follow the instructions below.
Apple/Mac:
- Open an Excel spreadsheet
- Go to the Tools Tab on the toolbar of the spreadsheet
- Locate and click on Excel Add-Ins
- You are then prompted to select from available add-ins
- Select Analysis ToolPak
- Click OK
- Go to the Data Tab on the toolbar of the spreadsheet
- The Analysis ToolPak should be far right on the toolbar.
Windows:
-
Open an Excel spreadsheet
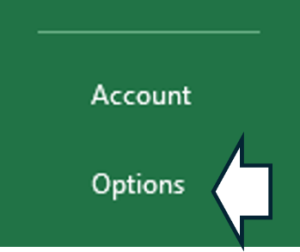
- Go to File, then at the bottom of the left-hand menu, click on options (Figure 2)
- In the popup select Add-ins, highlight Analysis ToolPak, in ‘Manage’ check ‘Excel Add-ins’ is showing in the dropdown, then click Go (Figure 3).
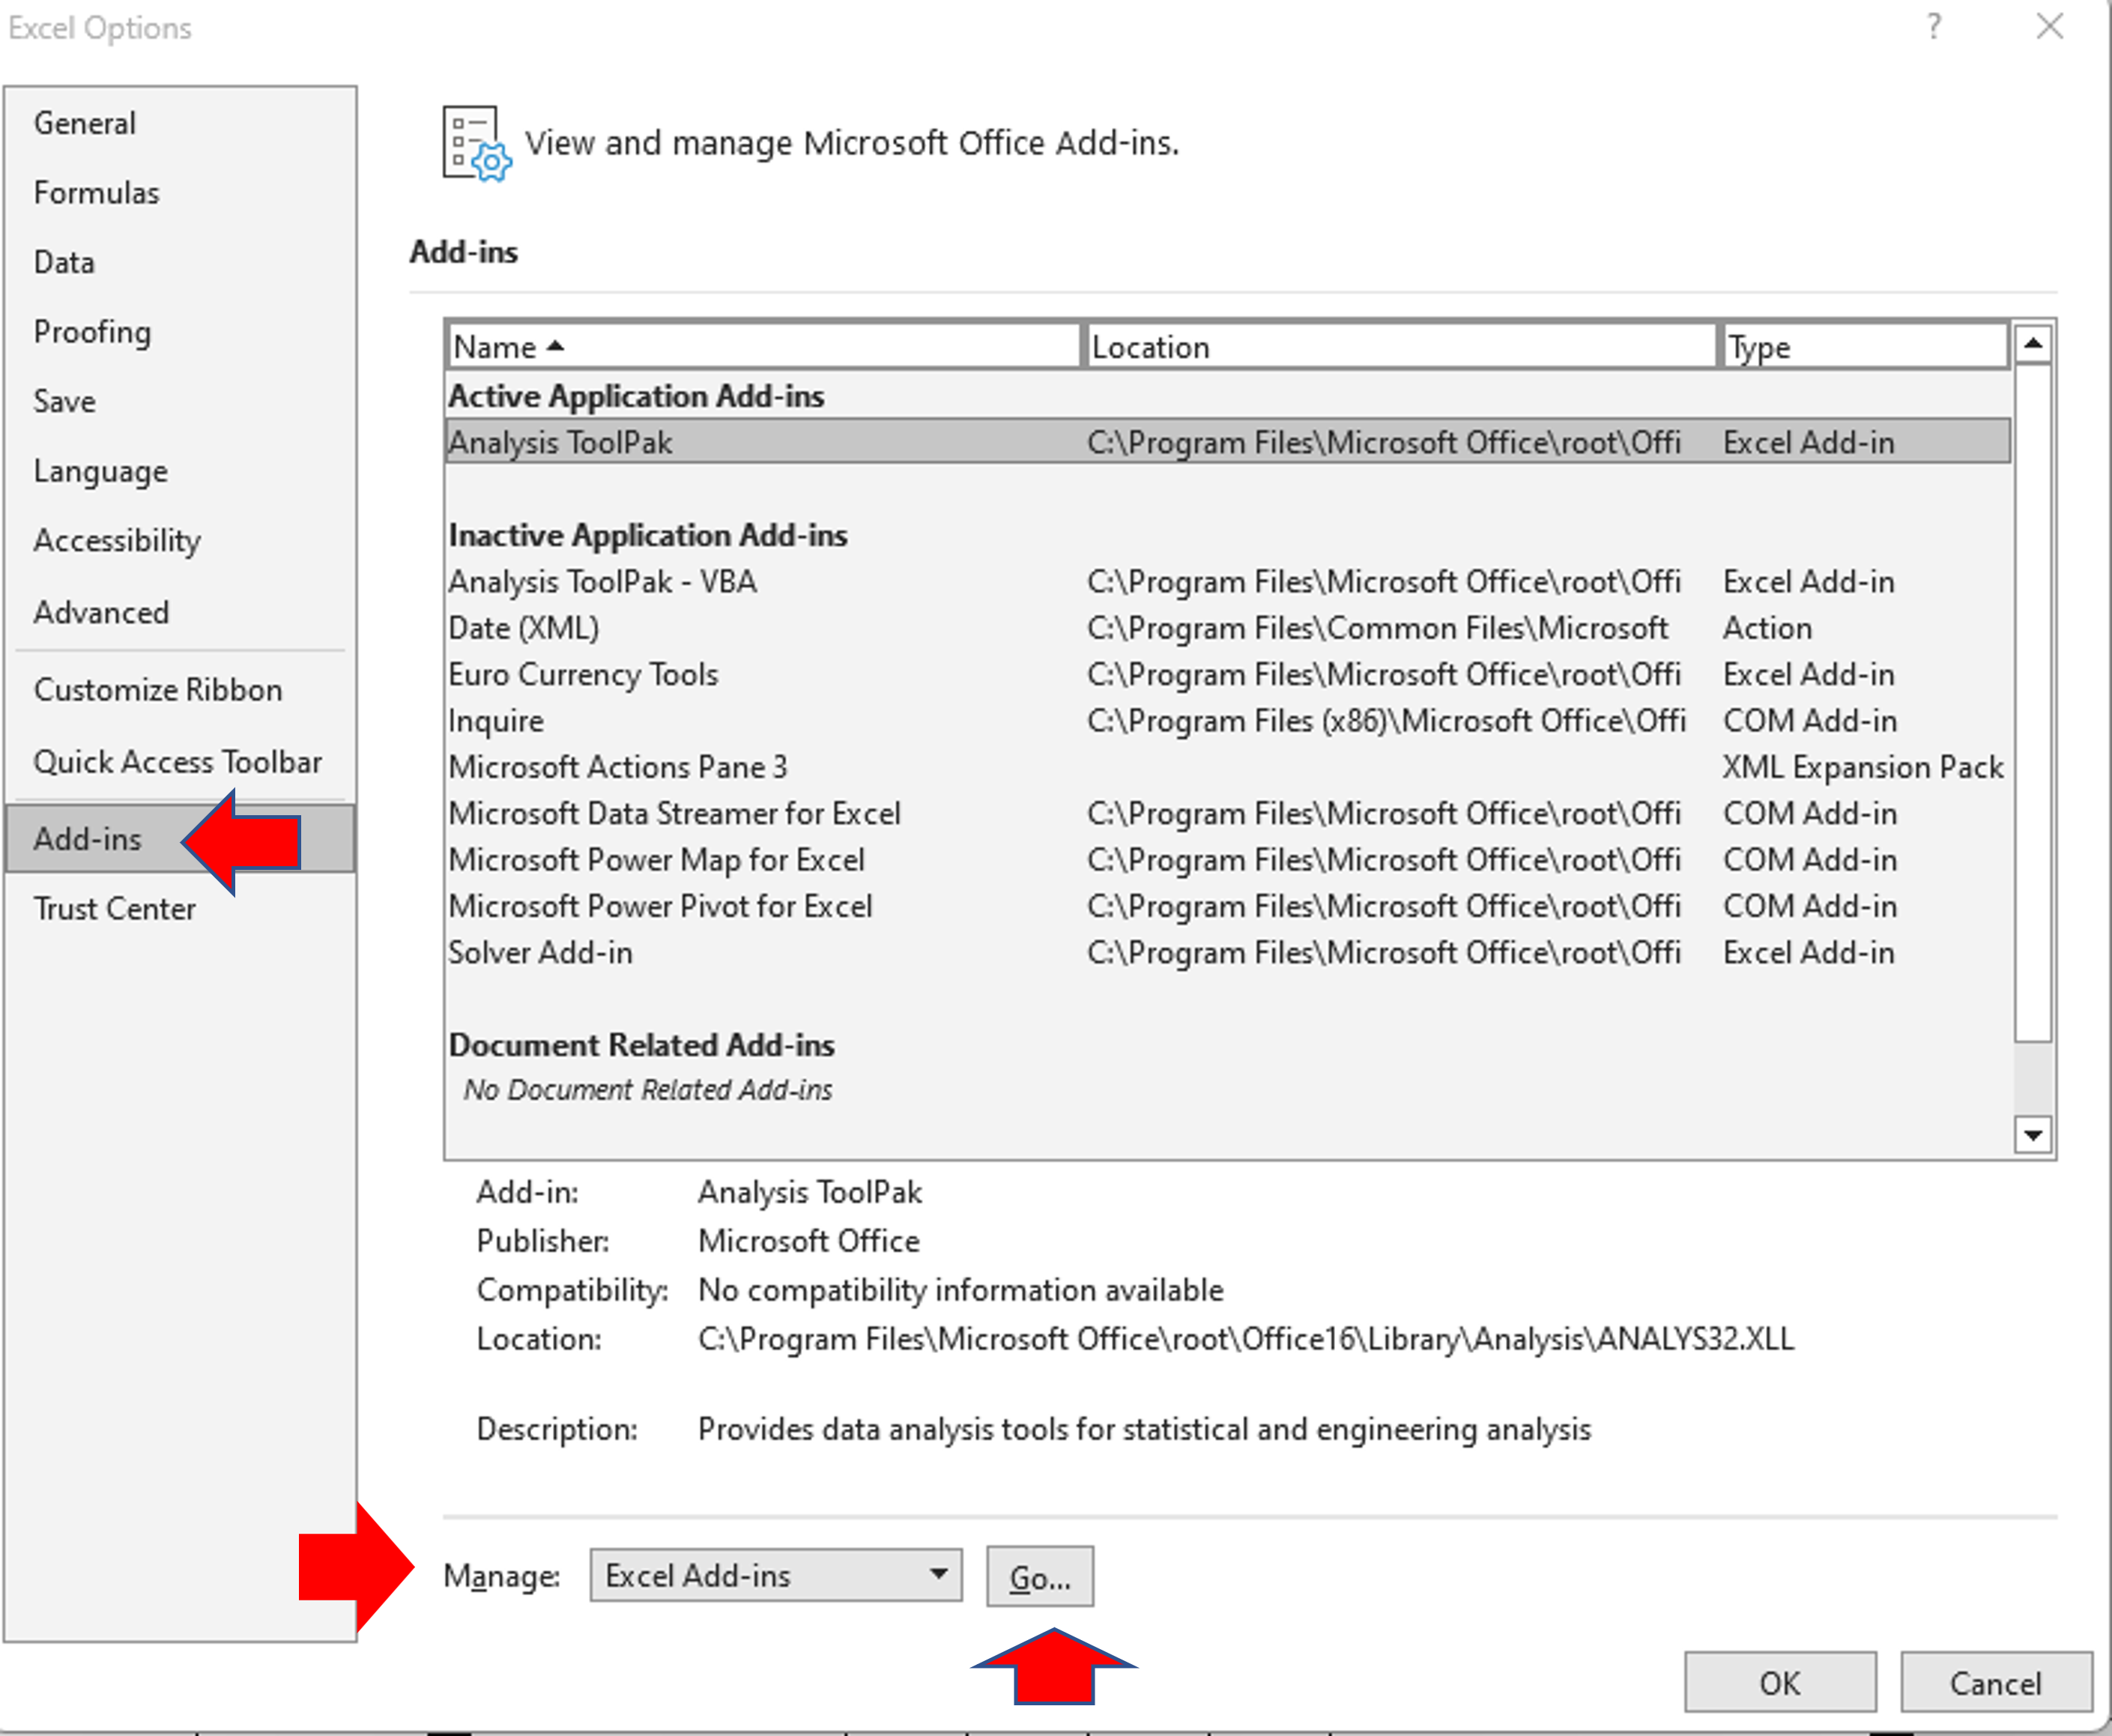
Make sure you have clicked on Add-ins in the left column, ensure that Analysis ToolPak is highlighted in the Add-ins list, in the drop-down next to Manage, Excel Add-ins needs to be showing. Click on Go… for the next popup.
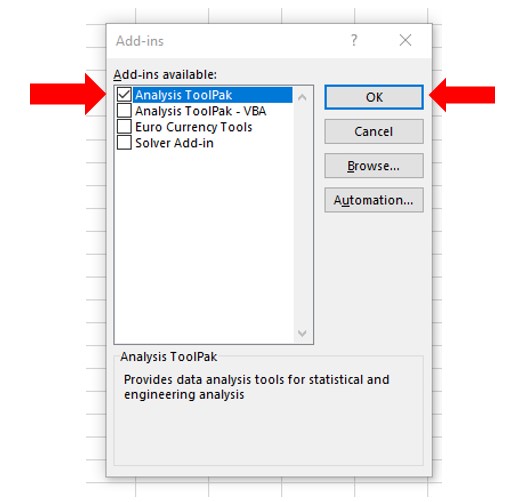
In the popup (Figure 4) ensure that you tick the top item, Analysis ToolPak. Click OK to return to the Excel spreadsheet.
Click on the Data tab. To the right of the ribbon, you should see Data Analysis (Figure 5).
You can now access descriptive statistics by clicking on Data Analysis gives a popup with a selection of analysis tools (Figure 6).
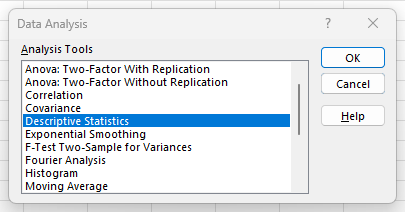
You are now ready to analyse data.
